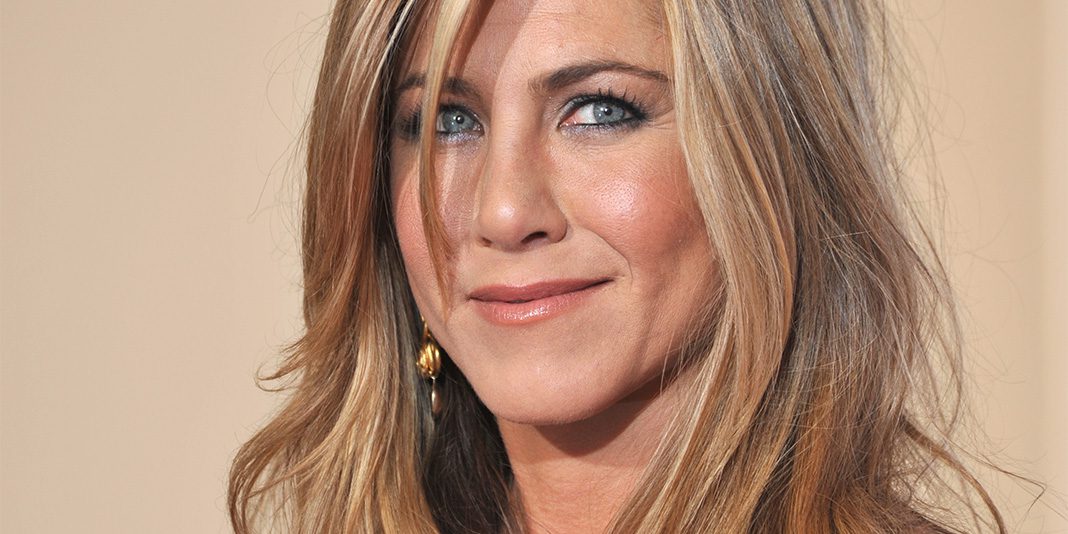
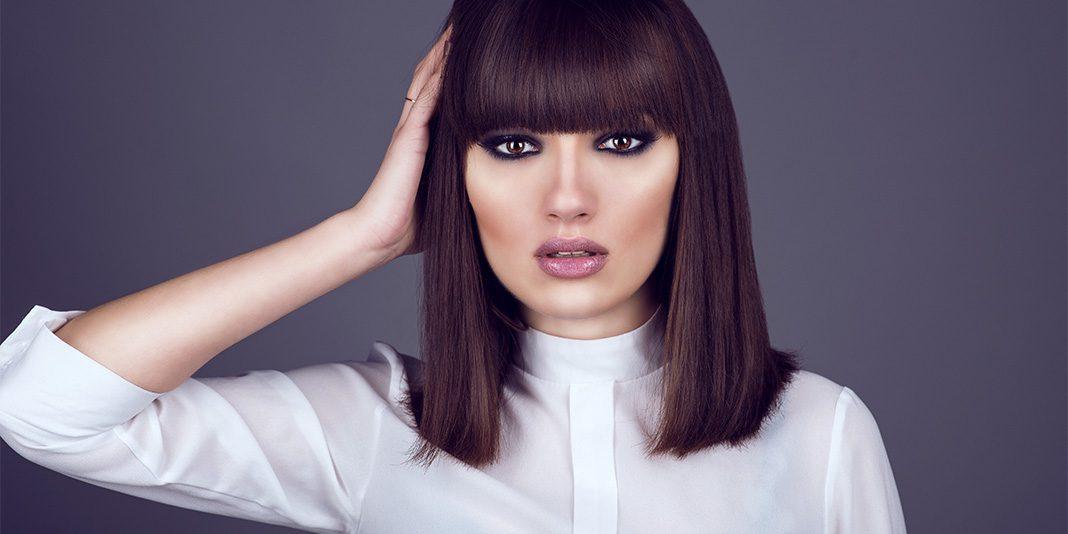
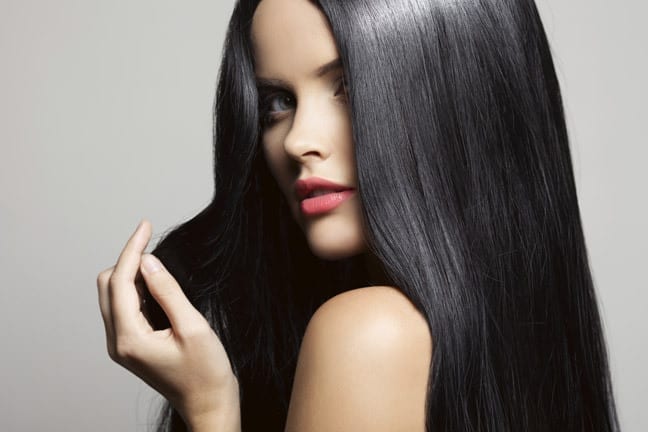
Sleek, straight hair is a regular on the red carpet, but it’s not a simple look for all of us (especially the curly girls!) to achieve. Hours after you straighten your locks, frizz starts to rise, split ends erupt from the high-temperatures, and any natural wave or curl can reappear.
It doesn’t have to be like this, though: Change your products and technique and you won’t need to scorch your strands to get your desired look. Here our our nine tips to safely strengthening hair for a gorgeous look:
1. Smooth Your Strands
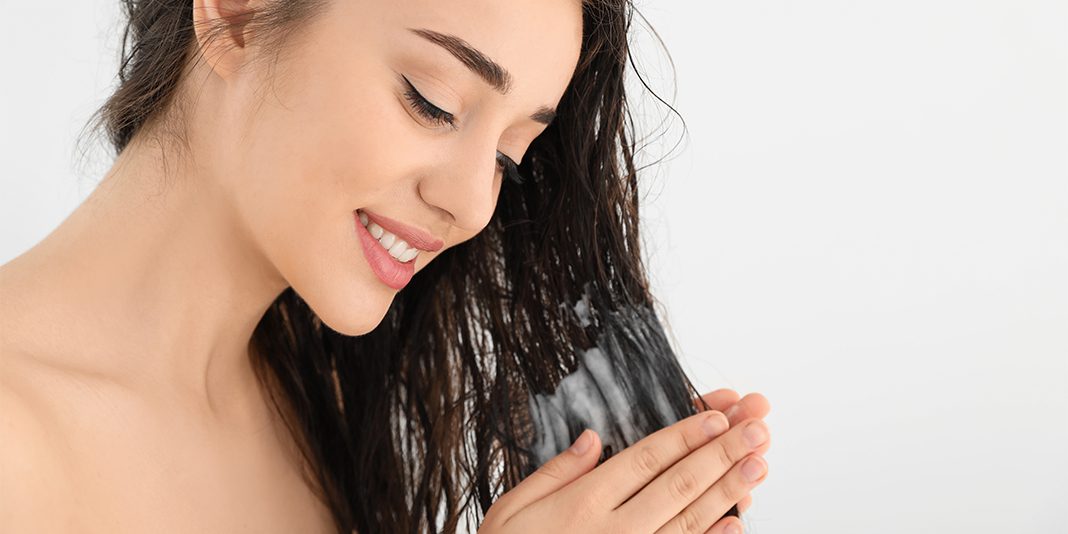
Start off on the right path with a good base of nourished strands by using a deep conditioning treatment once a week. The right groundwork will make your hair much easier to work with in later steps.
2. Wash the Right Way
Wash your hair with a moisturizing shampoo and use a leave-in conditioner to flood your hair with moisture. Then, use a dime-sized amount of straightening cream throughout hair for a smoothing effect. (Be careful not to over-do it with the products, though, or you’ll end up with greasy roots and limp strands!)
3. Part into Sections to Blowdry
It’s much harder to blowdry your hair when it’s one big mass. Section off your damp hair, so only a thin layer of the bottom section of hair is down while hair clips hold up the rest. Then aim a blowdryer with a nozzle attachment an inch away from your hair before you begin blow-drying.
4. Have Your Round Brush Ready
With a round bristle brush, slowly pull your hair straight as you blow dry with the nozzle aiming downward. Use this method throughout all the sections of your hair until it’s completely dry (this may take some extra time depending on how thick your hair is!). Keep your flatiron away at this stage: using it on damp hair can actually make the hair literally boil and burst the hair shaft due to the high temperature.
5. Prep & Protect
Spritz your dry hair with a heat protectant, concentrating on the ends in order to protect your hair from burning. If you want a fuller look, spray roots with a volumizing spray before flatironing.
6. Choose the Right Flatiron
Although they are hot tools, flatirons also protect and prevent any additional damage. Choose a flatiron with tourmaline ceramic plates for a smoother glide and anti-frizz properties. Try Karmin G3 Salon Pro Hair Styling Iron ($160) for its use of negative ions and infrared heat which removes static and gives an extra silky shine. Anti-slip edges and a tangle-free swivel cord keep it safe and prevent any accidental burns as well.
Section hair just like you did during the blow-drying step, with a thin layer of hair loose around the nape of your neck. Clamp your preheated flatiron on about one to two inches of your sectioned hair and run it down the length of your hair. Depending on your hair texture, you may need to run the flatiron through a second time to fully straighten your locks. Continue this process through the remaining sections of hair.
8. Boost Shine
Once your hair is completely straight, finish it off with a small amount of shine serum, focusing on the ends of hair to avoid greasy roots. Serums, rather than sprays, work better on coarse, thick hair since they contain a heavier formula.
9. Extend Your Look
After all your hard work, keep your sleek look going for a few more days by spraying dry shampoo at your roots whenever hair starts to get greasy. Fluff the dry shampoo into your locks to absorb excess oil and get rid of any powdery spots. Voila!
READ MORE: The Next Generation of Hair Straightening Treatments

