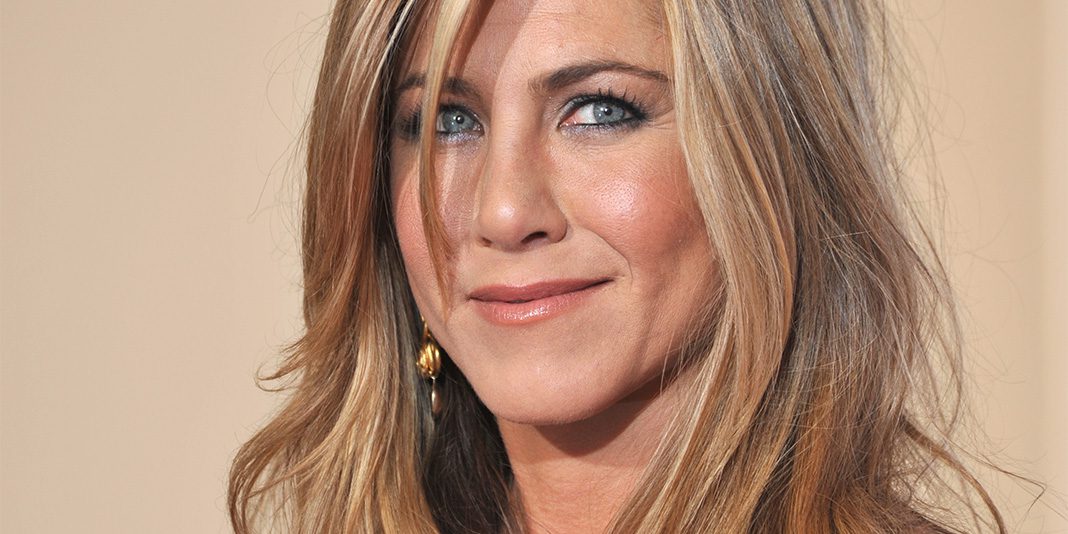
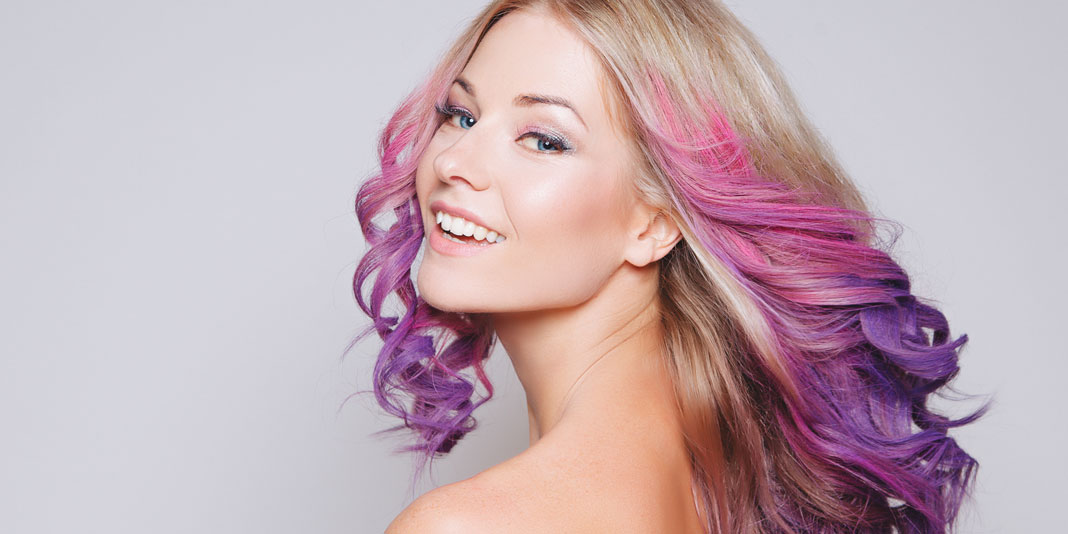
We’re at the point in quarantine when we’re running out of things to do and turning to dying our hair. I mean, aren’t we all tempted to dye our hair pink at this point? Or maybe you’re weeks past your regular hair dye appointment, and your highlights are in serious need of a touch-up. But what if you could do your own highlights at home? It’s not as difficult as you might think:
Step one: Style your hair normally
If you’re attempting DIY highlights at home, it’s essential to style your hair as normal. That way, you know you’re going to be coloring the pieces of hair to where they will usually fall.
Step two: Use a kit made for highlights
You can actually buy a hair dye kit that’s specifically made for highlighting your hair, like the L’Oreal Paris Colorista Bleach, Highlights. You’ll need to use bleach, so make sure you find one that comes with the right tools, like gloves and a brush.
Step three: Use the correct tools
That means brushes, aluminum foil, and gloves. Aluminum foil separates the hair that is being colored from the hair that’s not. It’s also essential to use two brushes: one to bleach and one to blend. It’s recommended to use a toothbrush or spooley brush to blend in the color as you bleach your hair.
Step four: Paint your strands correctly
Don’t be too strict about the actual placement of the strands, as you want it to look normal. Paint at least two inches from your roots and hold your hair straight out as you paint it. Make sure the section is thick enough to paint on top of it. You want to apply enough paint that it’s similar to a frosting consistency.
Step five: Follow with a deep conditioner
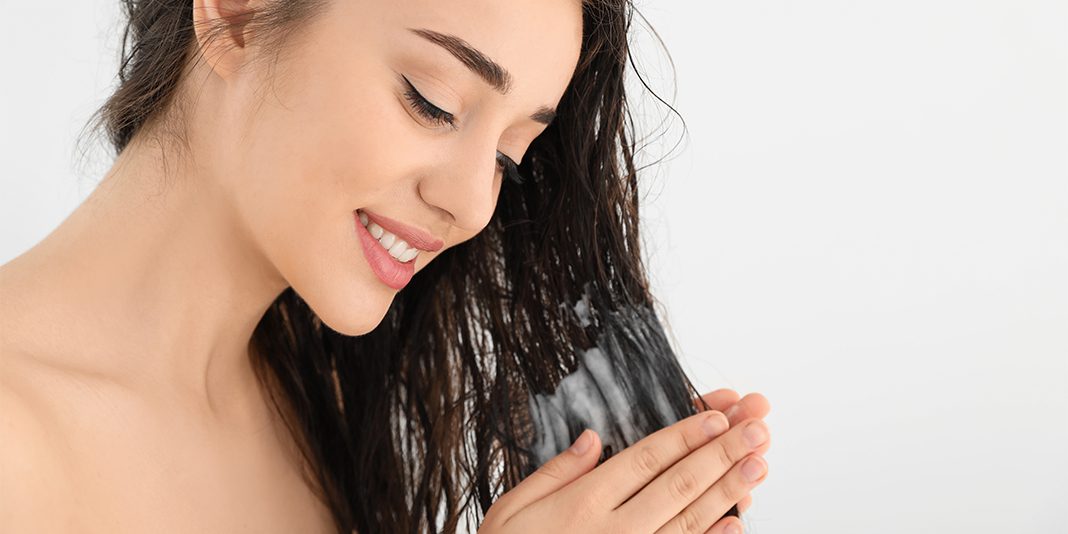
Bleaching your hair definitely strips it of its natural moisture, so you’ll want to follow up with a deep conditioner. Make sure to use a deep conditioning mask, like The Maine Choice POW! mask which is infused with venus bark, kanka extract, plantain extract, cinnamon bark and angelica root.
After you apply all the bleach, shampoo as normal, and use a good conditioner. And voila: DIY highlights.

