“Don’t drink the Kool-Aid” has a whole new meaning: while you would normally sip it down, you can use unsweetened Kool-Aid as a beauty product, or for your hair, your skin and even for some DIY dye projects.Before you rip into that packet of Kiwi-Strawberry that’s been hiding in the cupboard, set the stage: make sure you wear gloves, put down newspaper or plastic to protect the floor, and of course, break through a wall and exclaim,“Ohhhh YEAAAAAH!” if you’re satisfied with the results.
Kool Aid As A Lip Stain
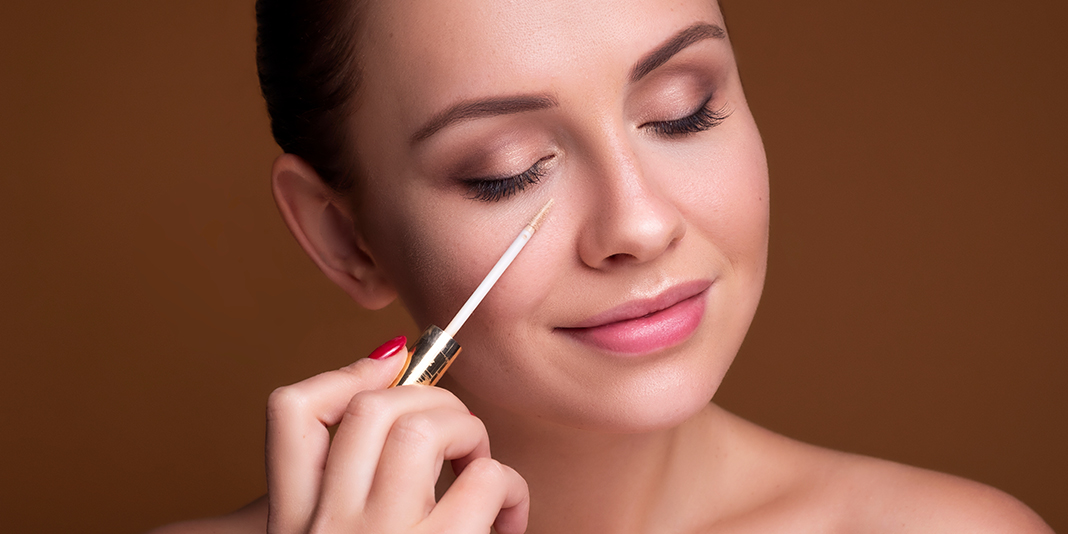
- Kool-Aid makes a delicious lip stain (with the added bonus that it smells yummy). Simply add unsweetened Kool-Aid powder to some Vaseline (add to desired color intensity). You have to melt the Vaseline down, add the color you want and pour off into tiny lip pots. (Great instructions here.
- For those looking for a more natural alternative, you can replace Vaseline with coconut oil. It’s best used in small, single-use batches and stored in the fridge, as coconut oil tends to liquefy at warmer temperatures. The upside is that the coconut will add a lovely fragrance plus you’ll get some major antioxidant and hydrating benefits too.
- The quick/on-set makeup artist way (and the best option if you’re at the beach) to get a fruity Kool-Aid lip stain is to add a few tiny drops of plain H2O to the Kool-Aid powder and rub on lips with a Q-tip. Layer for desired shade. Make sure the crystals have completely dissolved, or you’ll find the mixture abrasive.
Kool Aid As A Cheek Stain
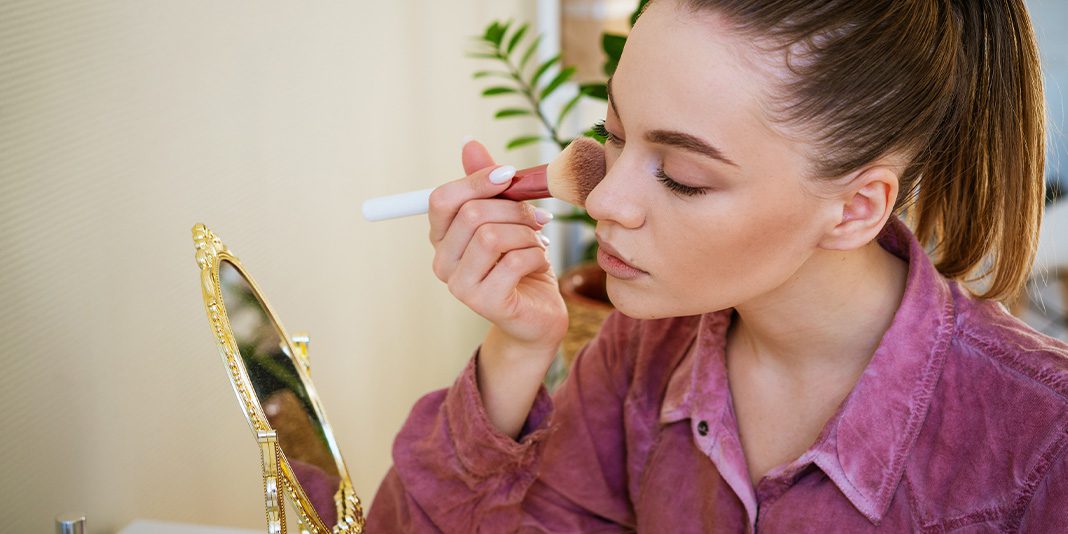
- Using the same idea behind the lip stain – melting down a more emollient substance – you can create a stain not unlike the much-coveted Tarte by heating up glycerine, melting chapstick and adding a Strawberry packet of Kool-Aid for a slick swipe of blushy-berry color (with a lot of melting, freezing, swirling, as shown here). If you DIY-in-a-hurry, simply take your coconut oil lip stain and double it up for cheek duty. Blend well.
Kool Aid As Hair Dye
- For the most adventurous, you can dye your hair with Kool-Aid — this was super popular in the ‘90s if you couldn’t get your hands on Manic Panic. Either you can go all the way and dye your whole head, or you can dip dye. First, get the Kool-Aid of your choice and pour into a glass container. Second, add a teaspoon of cornstarch and create a paste with a bit of water. Third, apply to your clean, dry hair and let it set for 5 minutes for a temporary blast of color (meaning it will last until your next shampoo). The longer you keep it in, the more vibrant and permanent the dye-job will be, however most results lean towards a tint (so keep in mind when choosing a color).
- Variations include mixing the Kool-Aid with conditioner and then applying to the hair, while others have had luck with mixing Kool-Aid with boiling water and dipping the ends of their hair in for an ombre effect. (Obviously, be careful around with boiling water.)
Kool Aid To Get Chlorine Out Of Your Hair
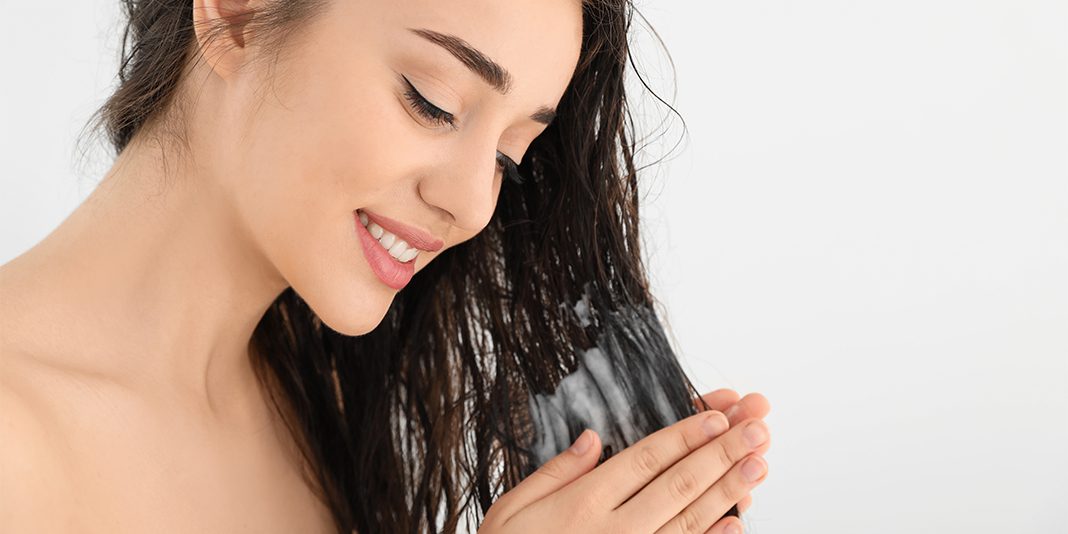
- Here’s a trick to get rid of brassiness, rust or major mineral and chemical buildup from swimming: combine some Lemonade Kool-Aid with a dollop of your regular shampoo. Work into hair and let it sit for 15 minutes before rinsing out. Suprisingly, this should effectively remove chlorine and mineral buildup from your hair.
Kool Aid As A Dye For Clothes, Wood, Paper …
- It’s not just hair that you can dye with Kool-Aid: you can tie-dye shirts, make a wood stain, dye yarn, dye paper, dye everything you want to with Kool-Aid. Try this beautiful guide to start you on a crazy DIY journey.
And have fun!

